

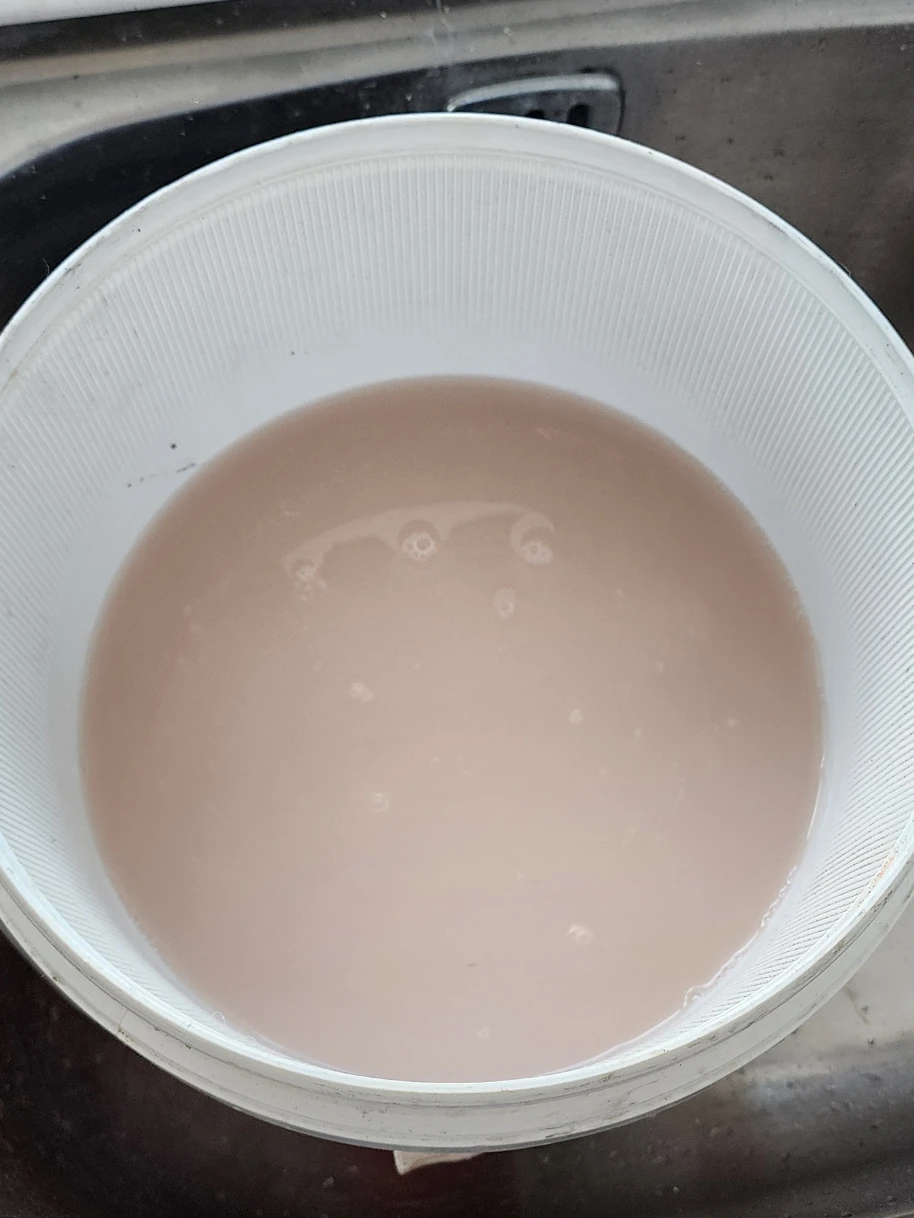
Judging by the look of the devils brew that came out of the engine cooling circuit, above, it’s pretty clear that the system needs a good clean and a reverse flush of the heater matrix is probably a good idea.
One of the issues with contaminated cooling systems on the W204 C63 is that getting to the heater matrix connections is quite a big job, requiring removal of the full windscreen wiper mechanism and motor, the cowl / rain diverter panel below the windscreen, and some of the structural bracing members. See the Pelican Parts post for a guide to doing that. Even then, it’s a tight spot to be working in.
This short guide was motivated by a realisation that it’s possible to reverse flush the heater core, without all this disassembly, by accessing the return line in the engine bay. However, this also means that the flush is going back straight into the head and through the engine to get to the drain plug. In this case, the contaminant seems to be silicate gel and so I judged the approach to be OK on the basis that i) silicate gel is made of extremely fine particles, ii) it has no real strength, even if a blob of it is dislodged, and iii) the galleries in the head and engine are large compared to the heater core and therefore unlikely to get clogged by the gel.
Obviously, if you’re dealing with corrosion or scale, your mileage may vary. Even then, the return line is the lower and more difficult of the two hoses to access at the bulkhead, so this might still be helpful.
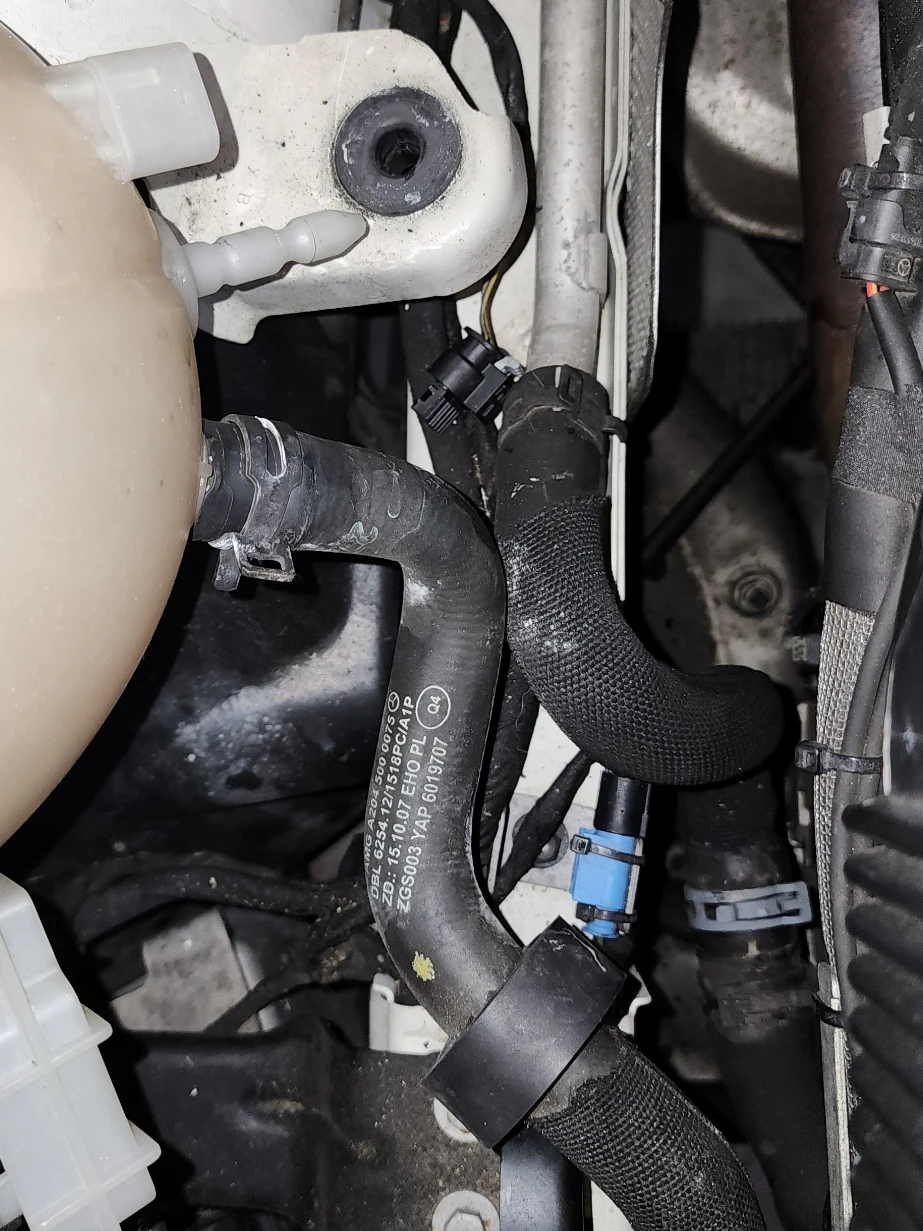
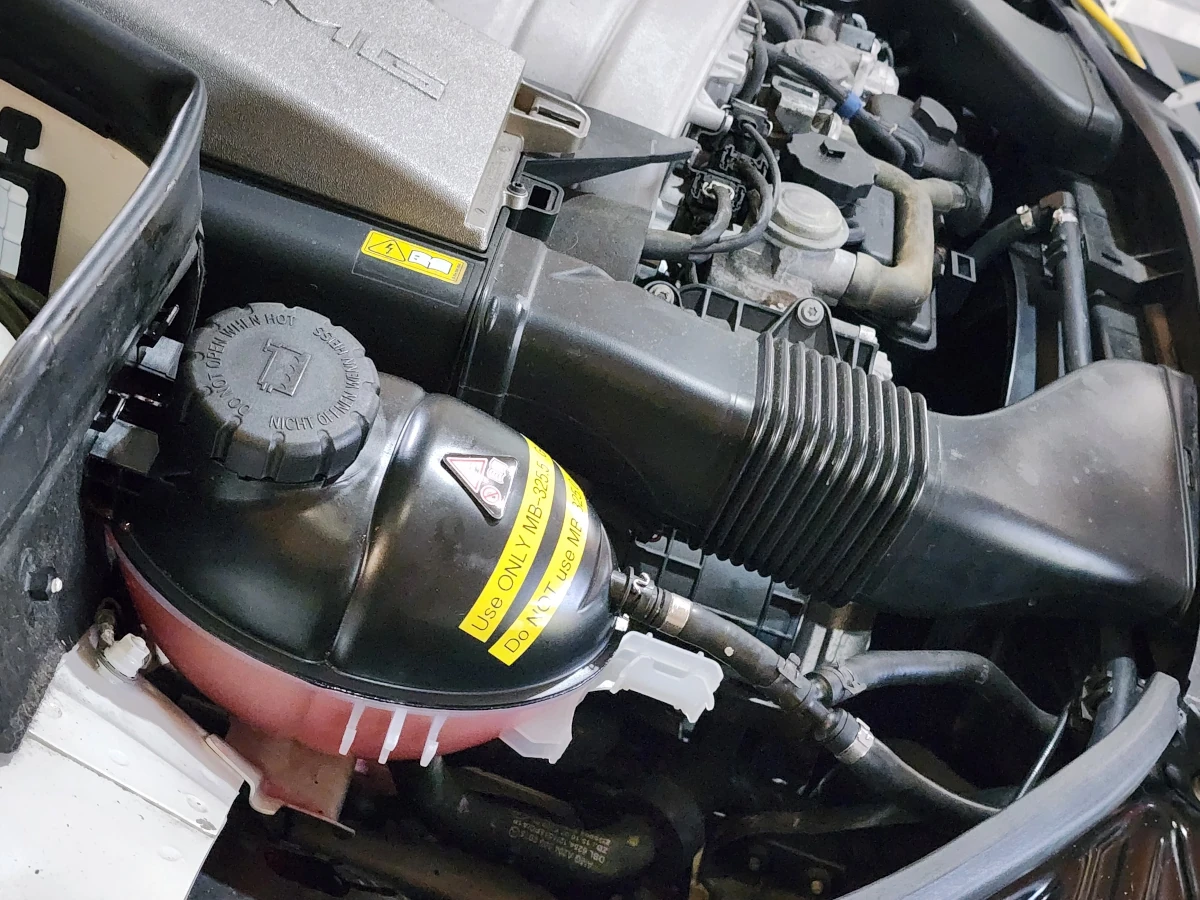
The coolant return from the heater matrix runs down the left hand side of the engine bay (looking from the radiator) through a metal pipe that changes over to a rubber hose once it’s clear of the exhaust manifold.
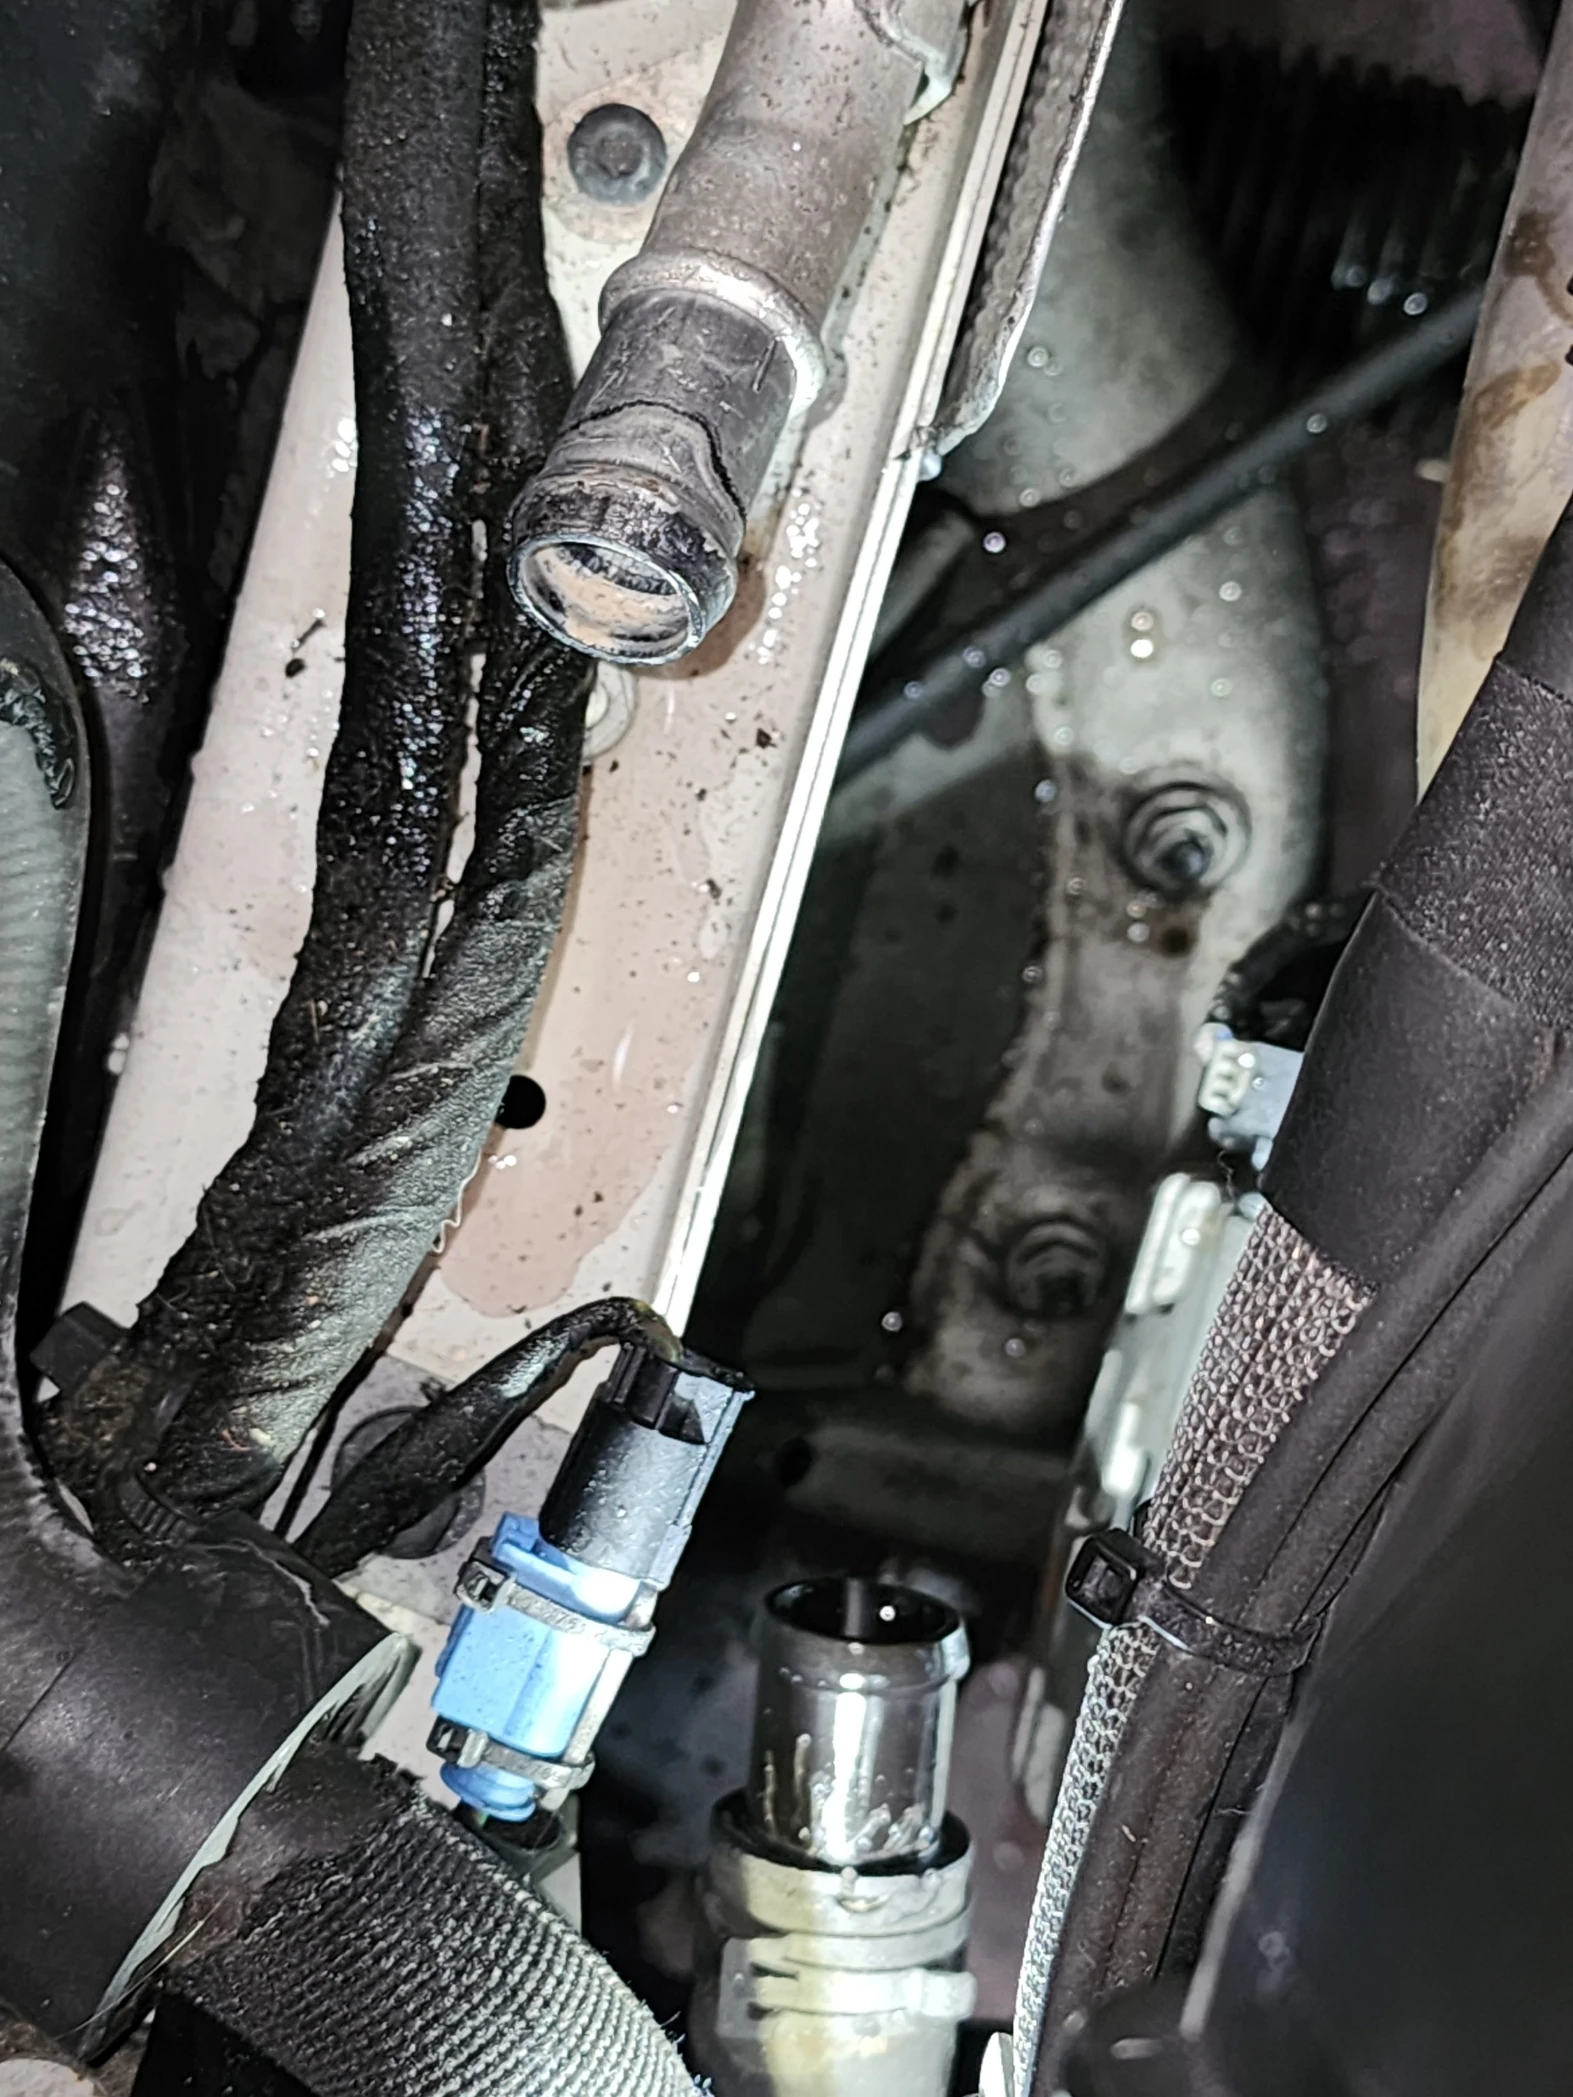
I removed the section of rubber hose that is attached to the metal return line, thinking that this would be the easiest way to push water in using a hose gun. It turned out the raw end of the metal pipe was a little small, but removing the hose was helpful because rotating it on the pipe whilst pushing water in made the job easier.
Note that this is all really close to the exhaust manifold, and these cars have “Hotrod Syndrome” (a big engine in a small engine bay). As a result the hose was a bit cooked onto the metal, but nothing serious that some gentle working at it with a large screwdriver blade didn’t loosen.
With the hose put back onto the return pipe, but rotated, it was easy to press the garden hose gun into the coolant hose and achieve a good seal. I was lucky with the size of the gun, as the nose was small enough to fit into the end of the hose, but was also tapered so as not to be a push fit. To keep the seal I had to keep pressure by hand, otherwise the two would come apart as soon as any water flowed.
I feel I was lucky with the fit of the gun in the coolant hose. You really don’t want to be creating a situation where you could end up blasting full mains water pressure into your heater matrix. The coolant system on this engine is pressurised, but I would not want to take bets on your heater matrix surviving full mains pressure!
This was all because, in my case, it seems a previous owner had put the new (red) coolant into the engine which had been running on the older (blue) coolant. They’re not compatible and can cause silicate dropout / silicate gel accumulation. I think, judging from the colour of the water on the SECOND flush, that it’s safe to say the engine has a bit of a bad case!
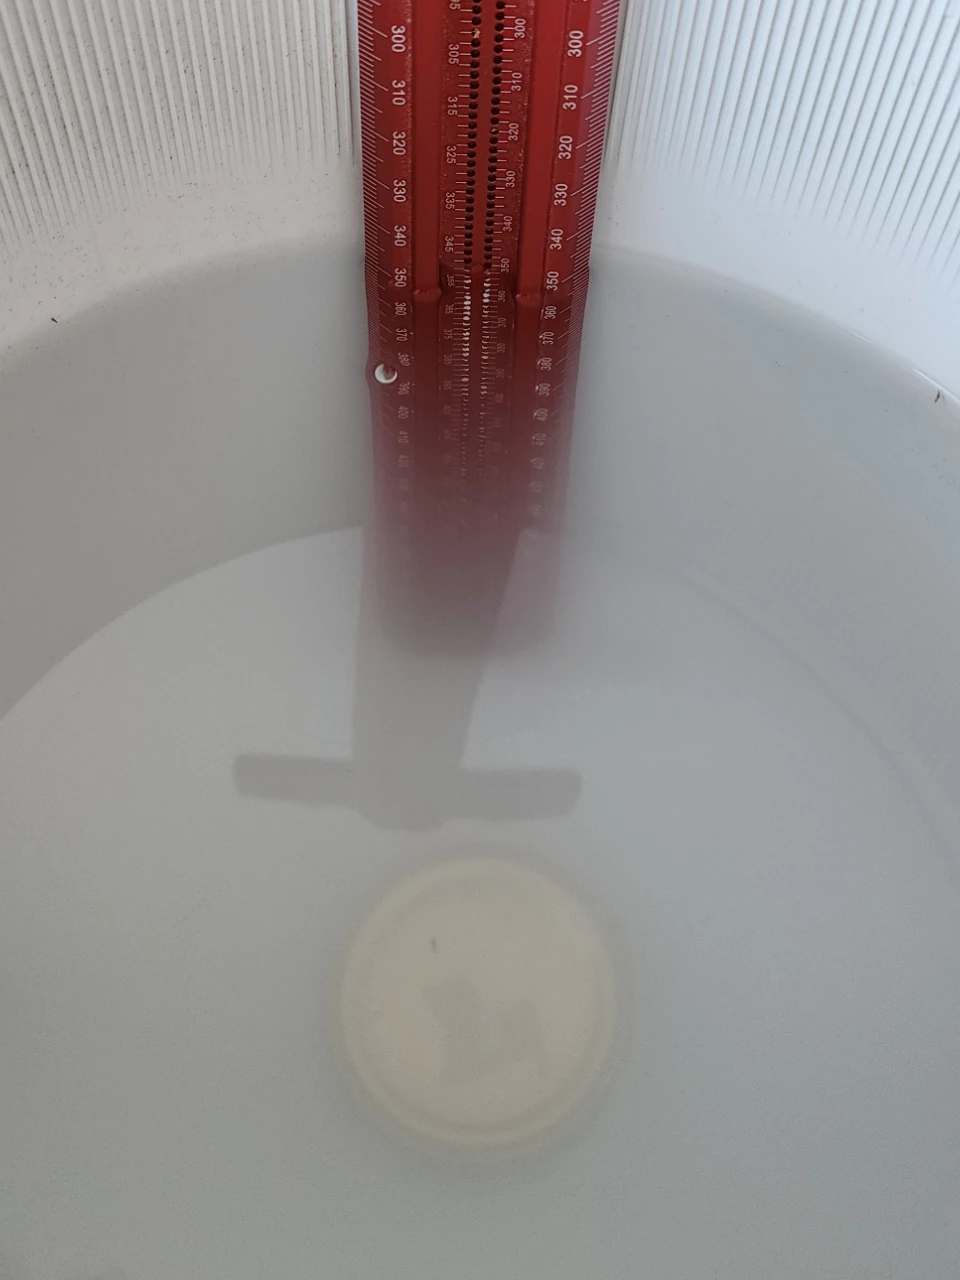
After 16 rinse and repeat cycles of: refill empty system, drain again, flush with water whilst petcock is still open, close petcock… I got to the stage where you could see the bottom of the bucket. Still a little cloudy, but very much onto the tail end of the contamination. But…
Then I did a hot flush, having put the coolant circuit back together. So the procedure was run till the thermostat opens, heater on full, allow to cool a little, drain. The first flush was almost back to square one.
Without removing the block plug, or any other hoses, it seems like only a little over 5 litres of coolant drains through the petcock, from a total system volume of 11.5 litres. Doing the hot flushes makes sure that everything mixes and what drains out has pulled contaminants out of the retained fluid volume. Still, ask a chemist / mathematician and they’ll explain that it makes the process a lot slower.
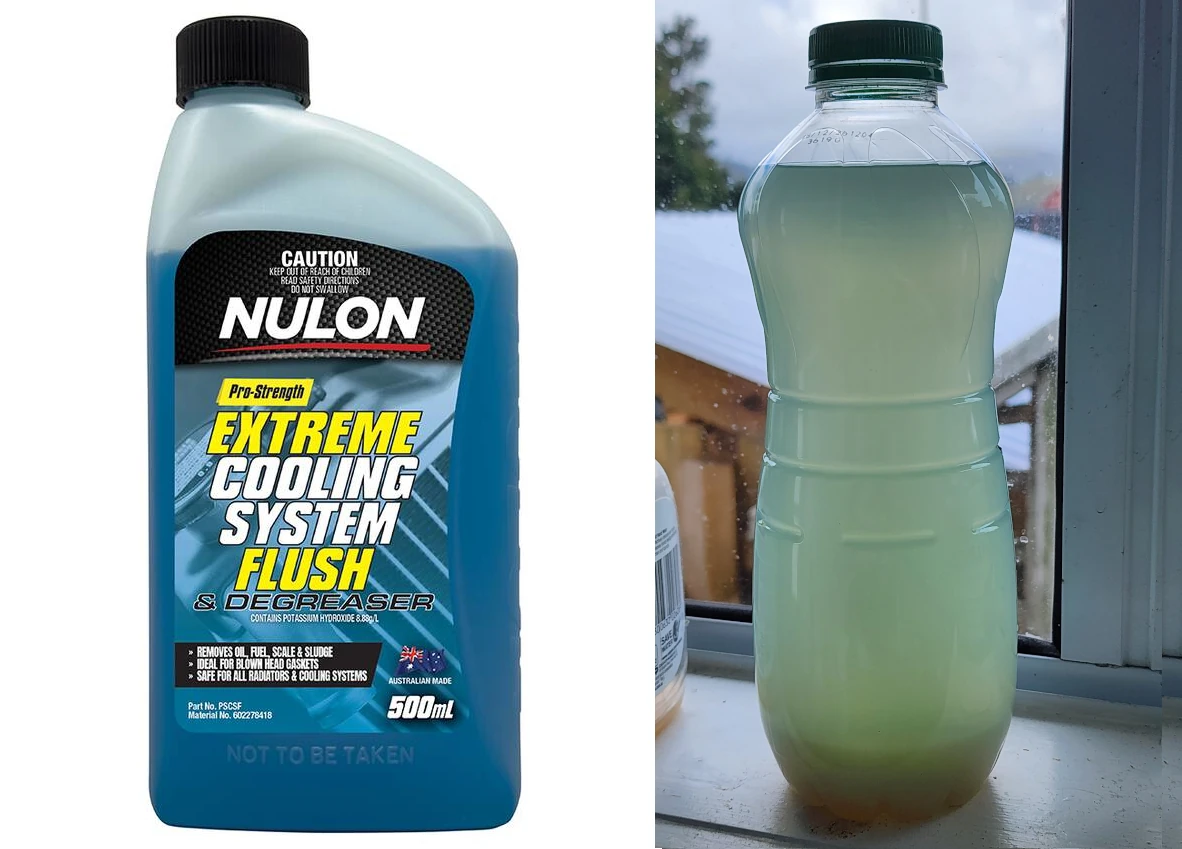
This is definitely a skip multiple steps kinda process. After more flushing the water coming out looked like it was clean enough to put the cleaner through. I got a fairly heavy duty alkaline cleaner that explicitly listed working for silicate gel.
Ahhhnd. What went in is on the left and what came out is on the right. Oh, and that’s been settling now for several days. This ain’t over. Back to fill, heat, drain, repeat …
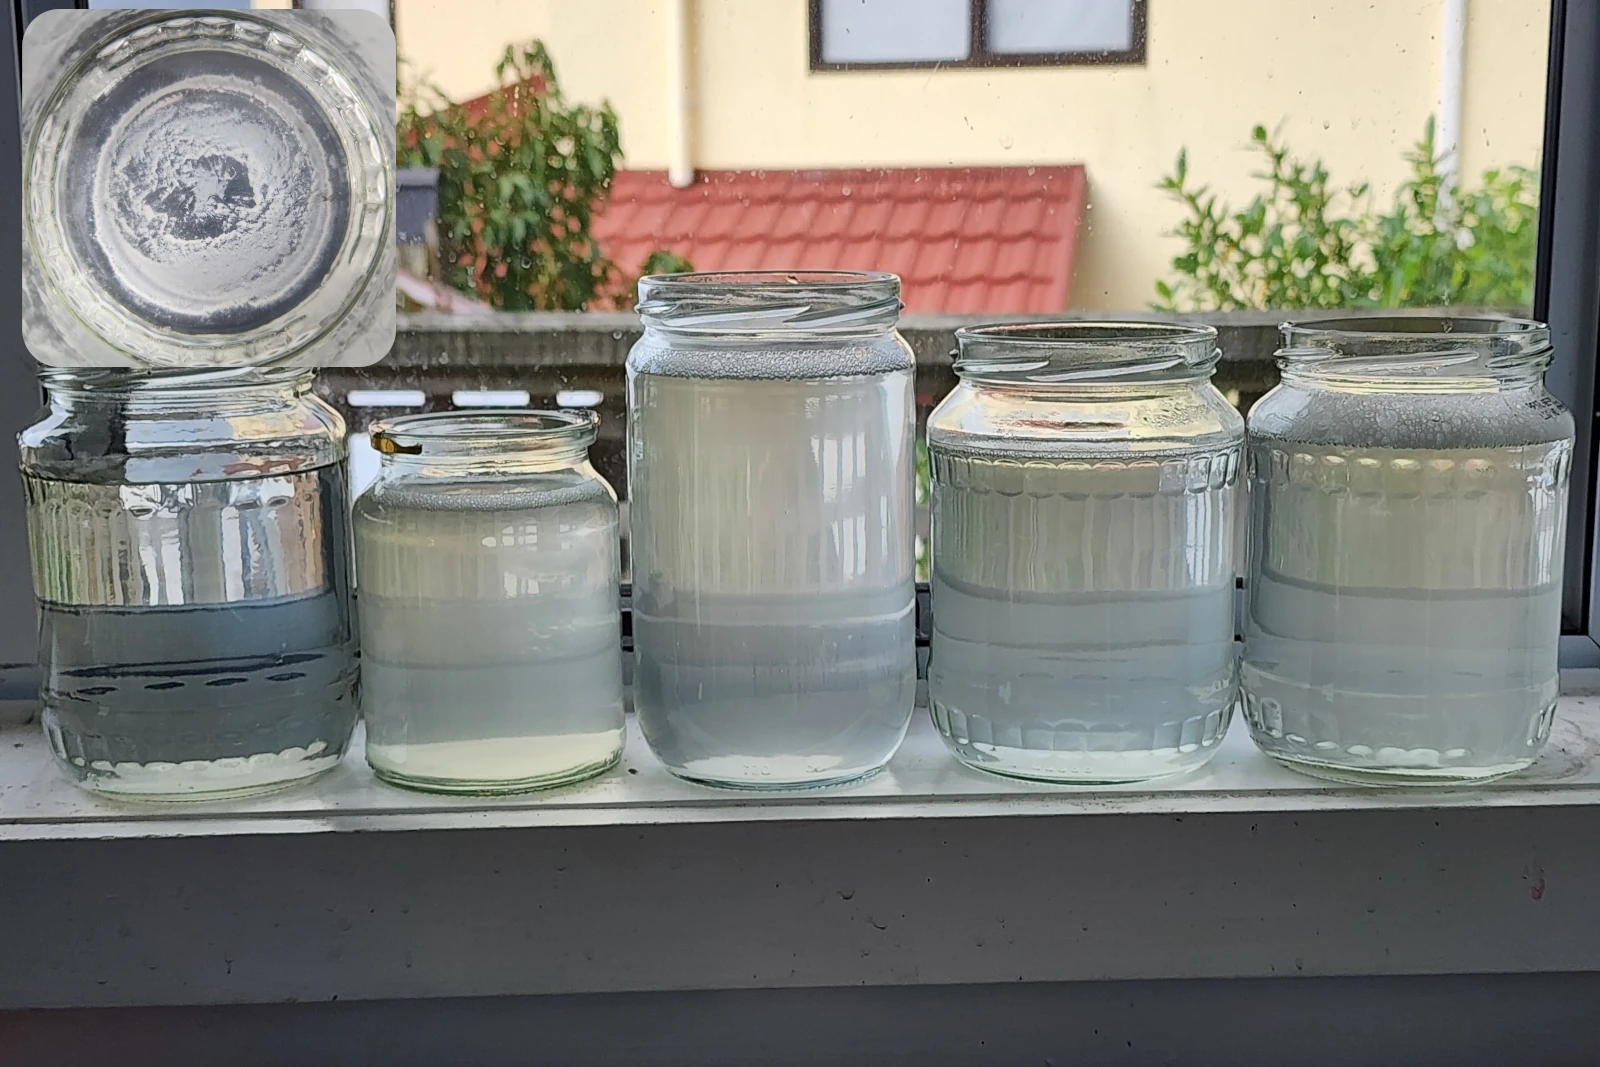
I think we can call that done. Far left is a sample from two days ago that has settled. Above the jar is the view straight down – not a bit sediment load left. The next four are the first to fourth hot flushes today, which should get the silicate levels down to about 10% of the old sample.
Most of the foaming from the cleaner has gone, and you can see pretty clearly through the haze of the most recent flush sample, without it having settled for any appreciable time.
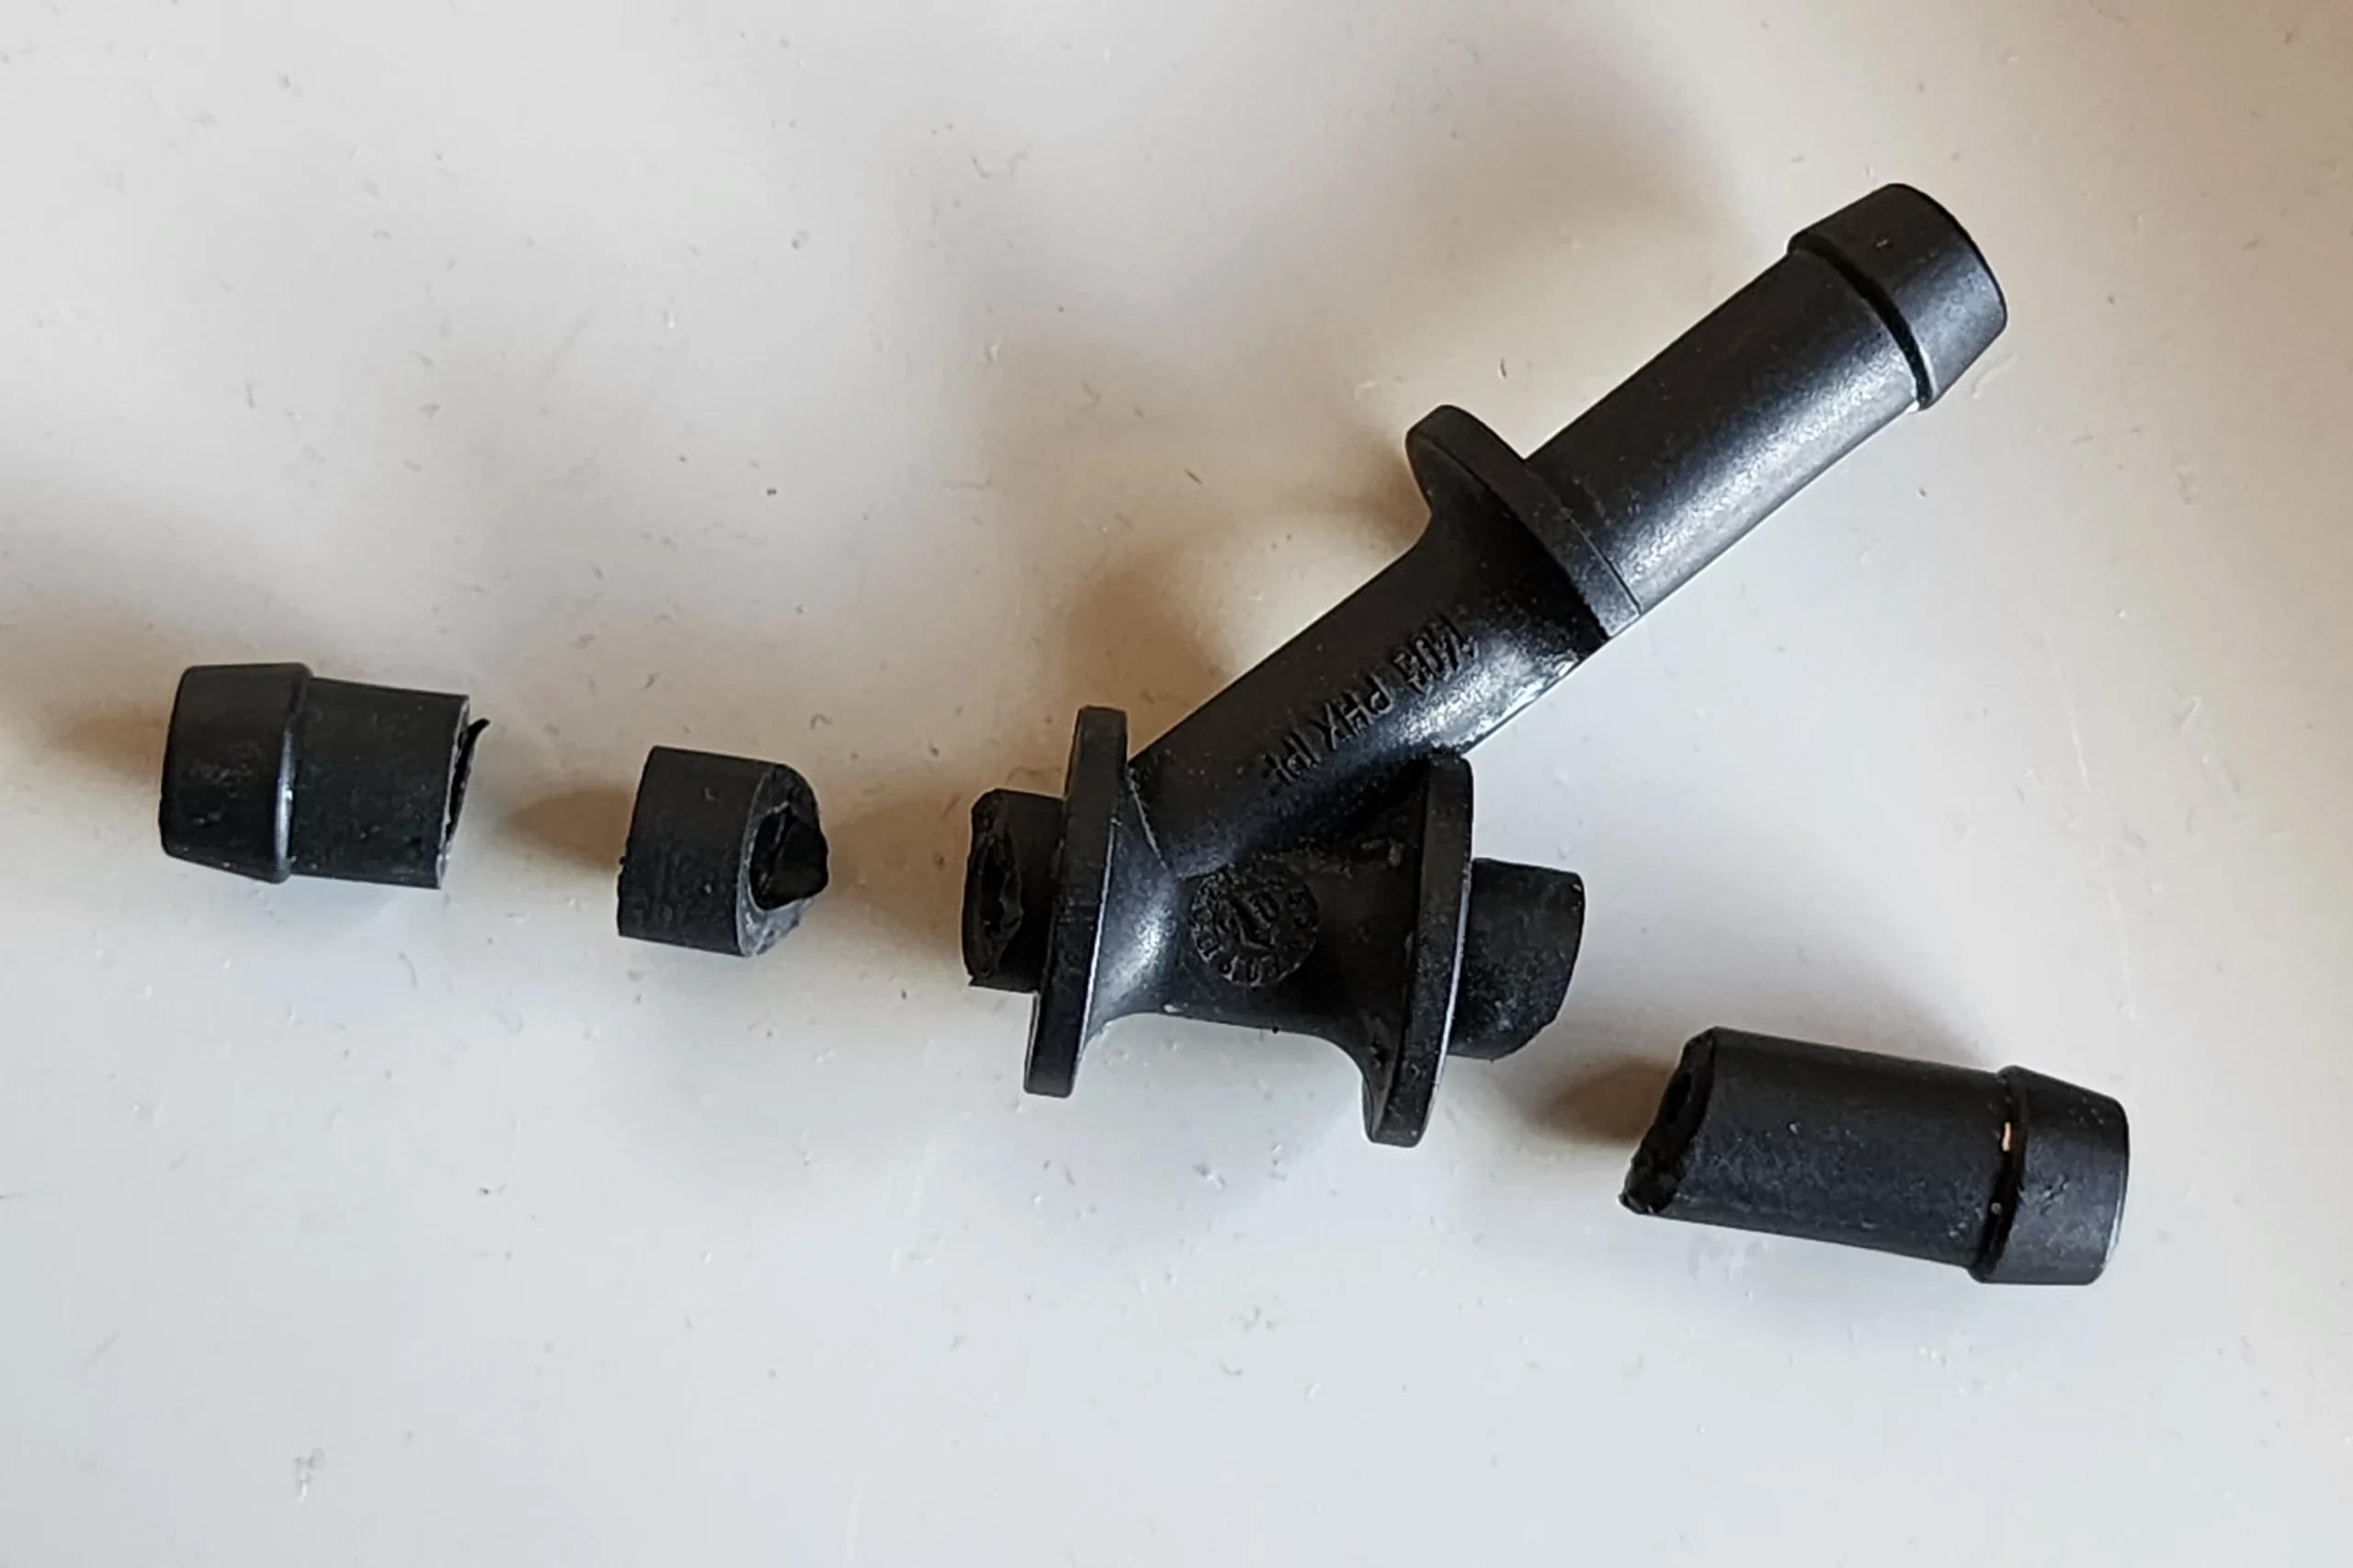
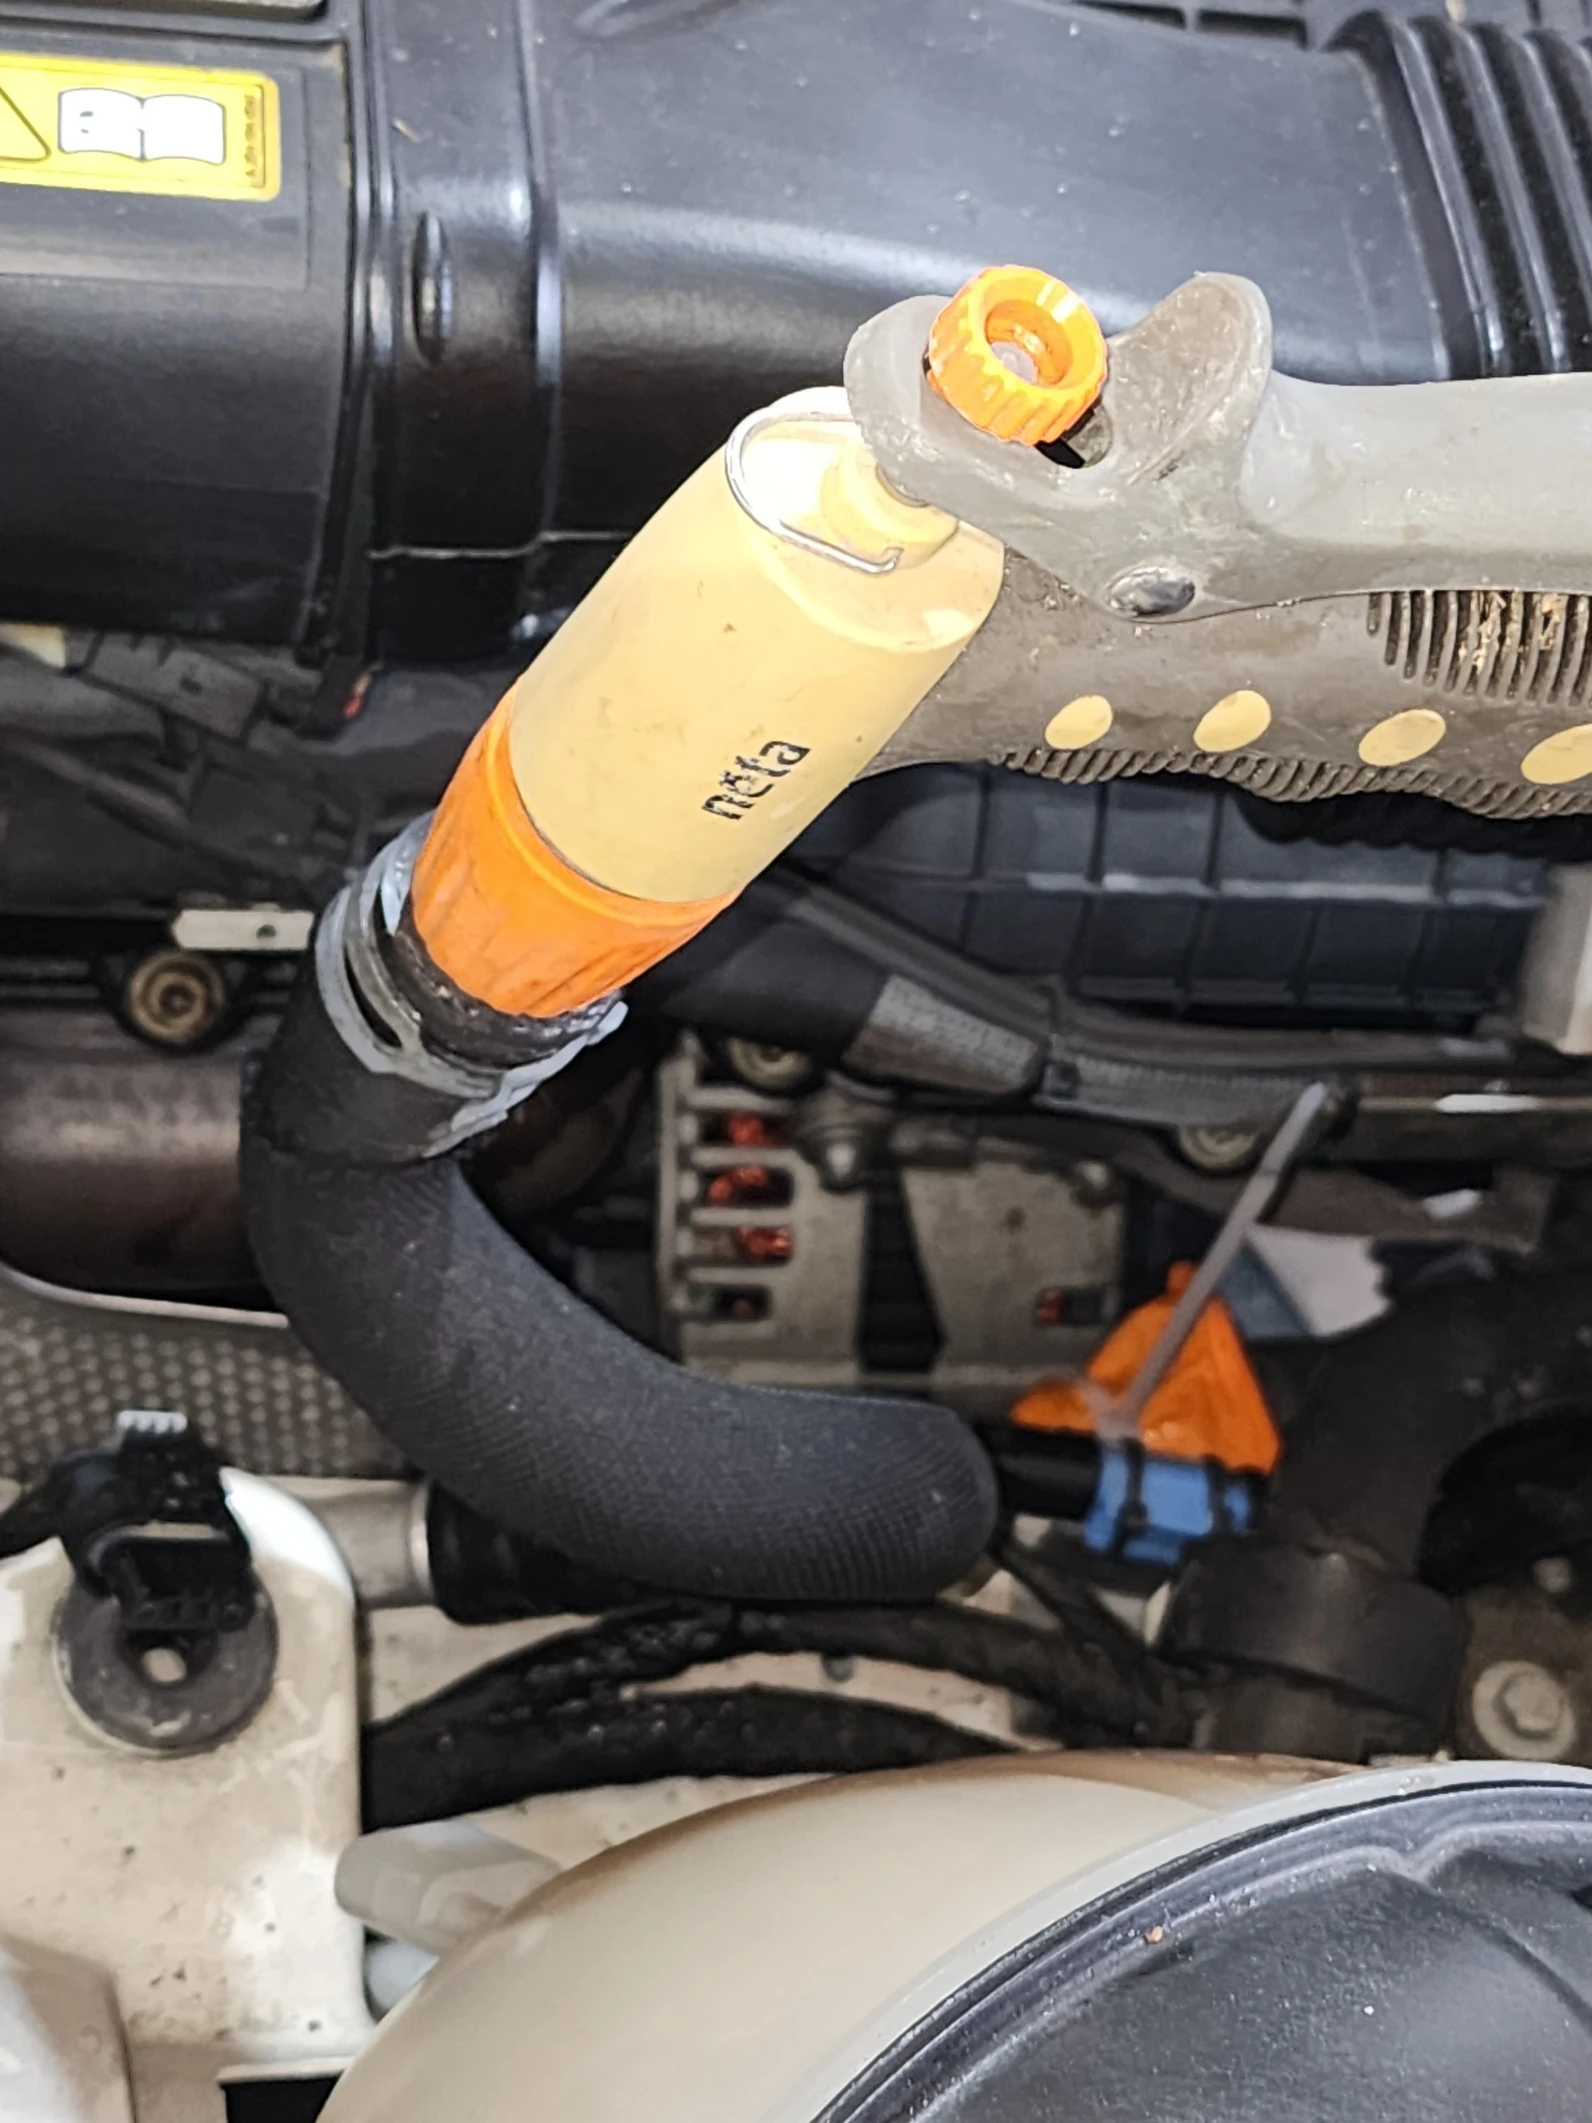
And then, there’s working on older cars with plastic in the engine bay. Taking the return hose off the expansion tank to put in the new one, and this happened!
So, I was just going to fill it up with coolant and start driving, but I’ll have time for the most recent sample to settle before I do that now.
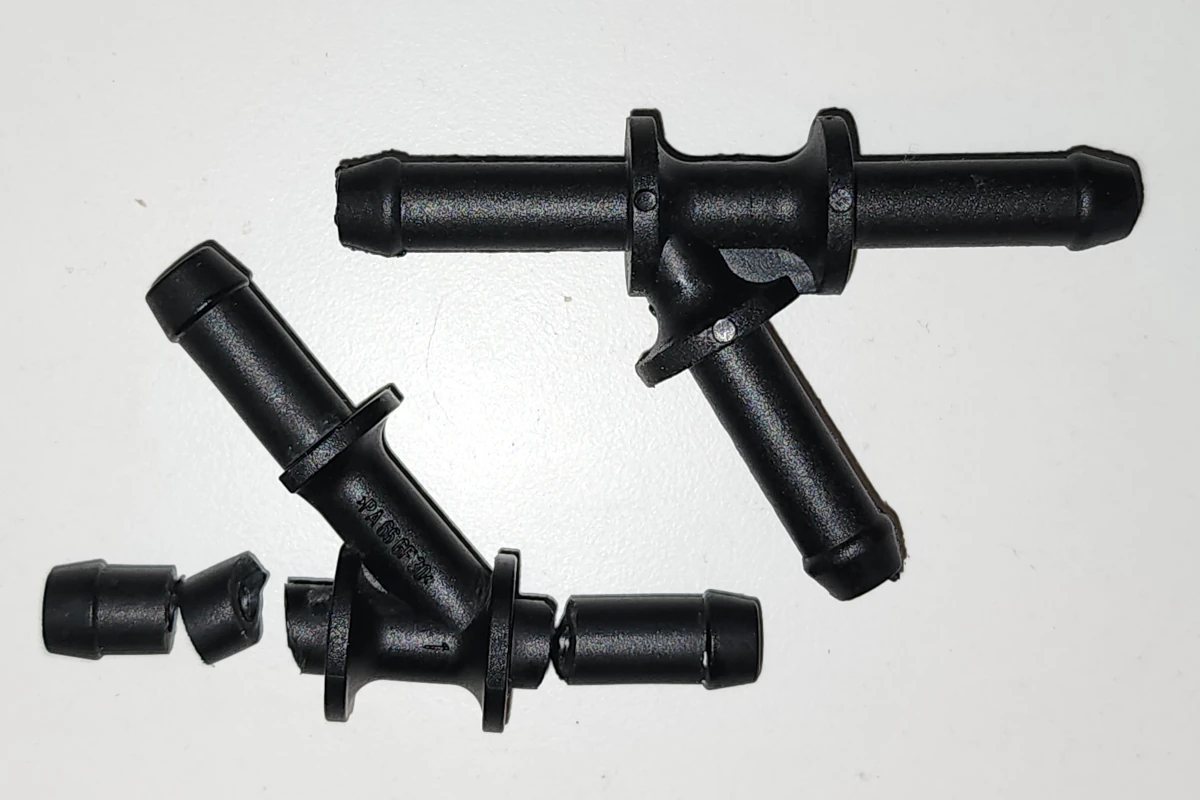
Thankfully there is a VAG part (#1K0121087B) that is almost identical. The main difference being the angle between the lines is a little wider in the VAG part.
At NZ$26 it seems worthwhile to get a certified automotive part rather than the NZ$3 alternative from AliExpress, for the peace of mind. It also beats the NZ$190 (if it was in stock) for the whole hose assembly from MB.
Finally, all waterproof, and pretty much clear drain fluid coming out. It’s not like bottled spring water, but it’s been washing around a 14 year old engine for half an hour at near boiling point. Point is, though, this is fresh out of the engine and you can see through it, not just make out vague brightness and darkness.
Job done, now just to fill.
All back together with a new header tank and silica teabag for good measure. Ready for a road test. Which it passed with no issues.